Transforming lawn into space for edible gardens is refreshing.
And exhausting.
But when you get an outcome like this, it's all worth it.
In less than two hours, on a complete whim, Gracie and I did this!

Some background:
My last post showed an over-grown pumpkin patch, taking up too much room, and not enough produce.

From this messy, overgrown vine we got two edible pumpkins to be exact.
The possums got three more before we were able to harvest them.
I learned this lesson previously, about 6 years ago...
But when they came up by themselves a few months ago, I thought I would give them a chance.
And I found myself having to re-learn this lesson.
Pumpkins are a waste of space.
Now... Don't get me wrong...
I LOVE homegrown, organic, Thai coconut pumpkin soup, pumpkin risotto, and (gasp, yes) Pumpkin Pie. American style ;)
But unless we buy acreage, we won't grow pumpkins.
I just don't think it is feasible on a 410m inner city suburb property.
How did we transform this space in two hours?
*note: With another adult or two, it would have been less than an hour. This was basically me and Gracie... DH only did the mow and take out the tree stump, see below.
First off, it has been an idea of mine since clearing out the pumpkin vine about a month ago.
The spot is a former home of a mulberry tree which died before we moved in.
The lifeless stump was removed by DH shortly after we moved in, and the area was inaccessible while the neighbours were building the fence.
Step 1: Salvage the good dirt.
The ground isn't bad, but it is overrun with lawn and weeds.
The pumpkin vine was chopped up and laid out last month, and now it's beautiful compost.
We shovelled it into a wheelbarrow to use in the garden later.

Step 2: Mow the lawn.
We want the foliage to be as short as possible.
Keep the green grass clippings for the no-dig construction.
\

Step 3: Assess the site and remove obstacles.
Namely, Tree stump.
This was leftover from a row a Chinese Elms we removed last year.
Thanks DH! And great job supervising him, Gracie :)

Step 4: Soaking the cardboard.
We actually started this one first, when we decided (completely spontaneously) to do this garden.
We half-way filled the clamshell swimming pool with water, and rummaged the house for cardboard.
Tearing into medium sized pieces, we soaked it for about an hour, but honestly, 10 minutes would have worked.
If you don't have a pool, a wheelbarrow would work just as fine.

Step 5: Level the ground.
No, we didn't use a level... we eyeballed it.
Casual gardeners here.
Step 6: Visualise what you want.
I found this arch for $15 at Bunnings.
Putting it up in place really helped us visualise what we wanted.
We also had some old bricks laying around (pretty sure every old queenslander house has a pile right?) so we built an edge to stop the grass from coming through.


Step 7: Thinking ahead, Planning & Design.
Decide where your garden plots should be (sun appropriate), and place cardboard down.
This is where the "idea" step comes in handy...
Here's a few things we thought of:
- I've been monitoring sun levels of the site for a week or so.
- The fence blocks the afternoon sun, so gardens near the fence need to be shade-loving (ie. INSERT EXAMPLES HERE)
- Small trees would be okay because they would grow tall enough to catch the sun over the fence.
- A path is needed along the raised garden bed to access plants.
- The back corner will be encroached upon by the weeds at the back, so we decided to plant an Avocado tree in that area so the weeds are easy to spot.
- Growing vertically would increase our area, thus increasing our produce.
I wanted a beautiful circular mandala key-hole garden (see picture below), but I decided I would much rather save a spot for a bench or place to sit against the fence, so we modified it.
Example of a Mandala Key-hole Garden:
 |
| From "Gardening from the Ground Up" author ANON |


Step 8: Water in.
Yes, the cardboard is already wet, but at midday, the sun is drying it out fast.

Step 9: LAYERS!
Here's where it gets fairly easy.
We have green grass clippings...
We have a top layer of compost.
We need two things: Dry leaf layer, and manure.
I sent Gracie with her dad to Bunnings.
We'll use Sugar Cane mulch for the "dry matter" and cow manure blend.


Layers are easy:
- Cardboard (can use old carpet, or like) for a weed barrier... nothing should come up through this layer. Water in.
- Green grass clippings - make sure there's no seeds (especially from weeds) in it, because they could sprout! Water in.
- Dry matter - we used sugar cane mulch. Water in heaps - it will take a lot to soak this layer.
- Manure - watch out for horse manure which can contain sprouts that will take over your garden. Compost this manure first before using. Also, chicken manure always needs to be composted first. It is too high in nitrogen and can burn your plants. Water in.
- Repeat 2-4.
- Top with a good top-soil quality compost. Water in.
*TIP: Make sure the layer edges are clearly defined and the garden bed is flat on top. We don't want a "pile" or pyramid top, because the water will just run off the sloping sides. With each layer, form a sort of cliff-edge and layer right up to the edge. I was picturing myself forming a meatloaf, lol.
 |
| Green grass clippings |
 |
| Dry mulch |

 |
| Manure layer |


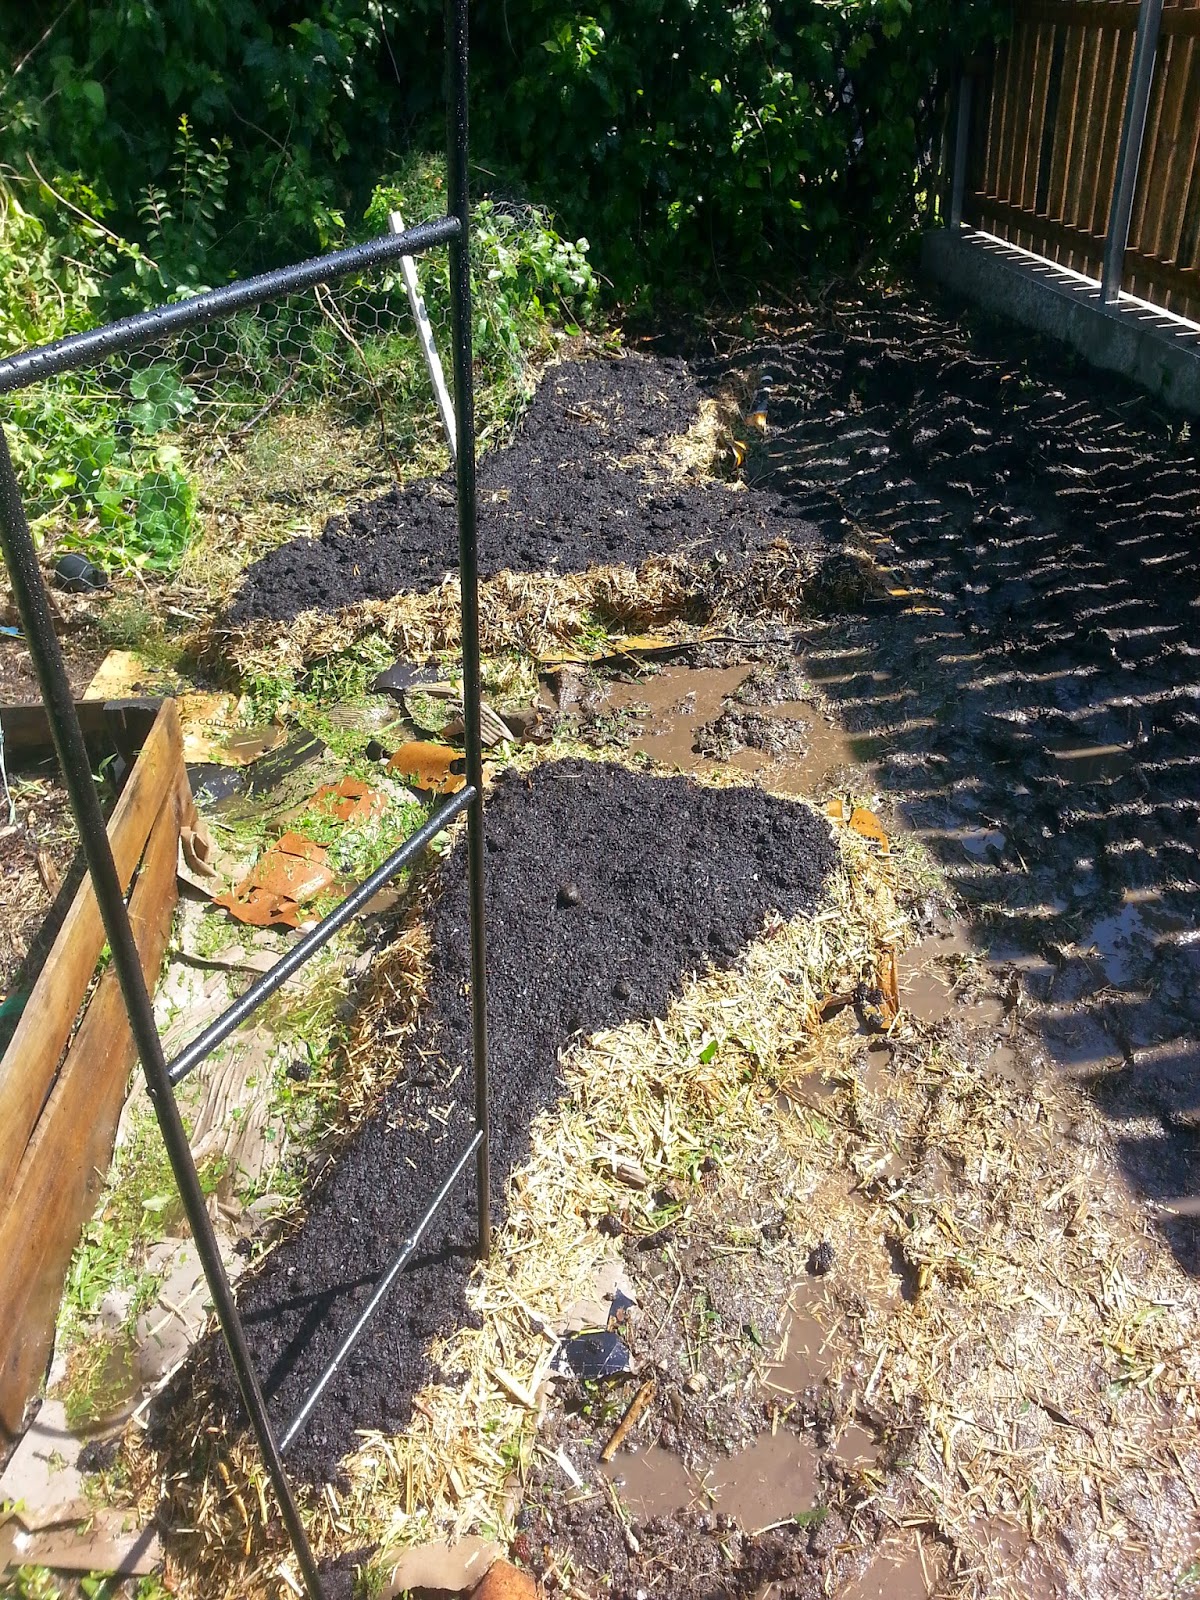
Lastly: Tidy up and Beautify.
All that watering left a big muddy mess.
We used the leftover mulch to cover the mud, and we will let it dry for a few weeks.
This also leaves the garden alone to settle and start the decomposing process.
In 2-3 weeks (I'll check the moon calendar to see when it is ideal planting time) we can put in seeds and seedlings.

DH also brought me back a lovely surprise... some tiles were on sale, so we threw them down also.
They'll need to be properly set later on, but for now, it looks lovely.

Happy Gardening!
Any questions? Leave a comment or email Annalisa2010@live.com.au.
No comments:
Post a Comment